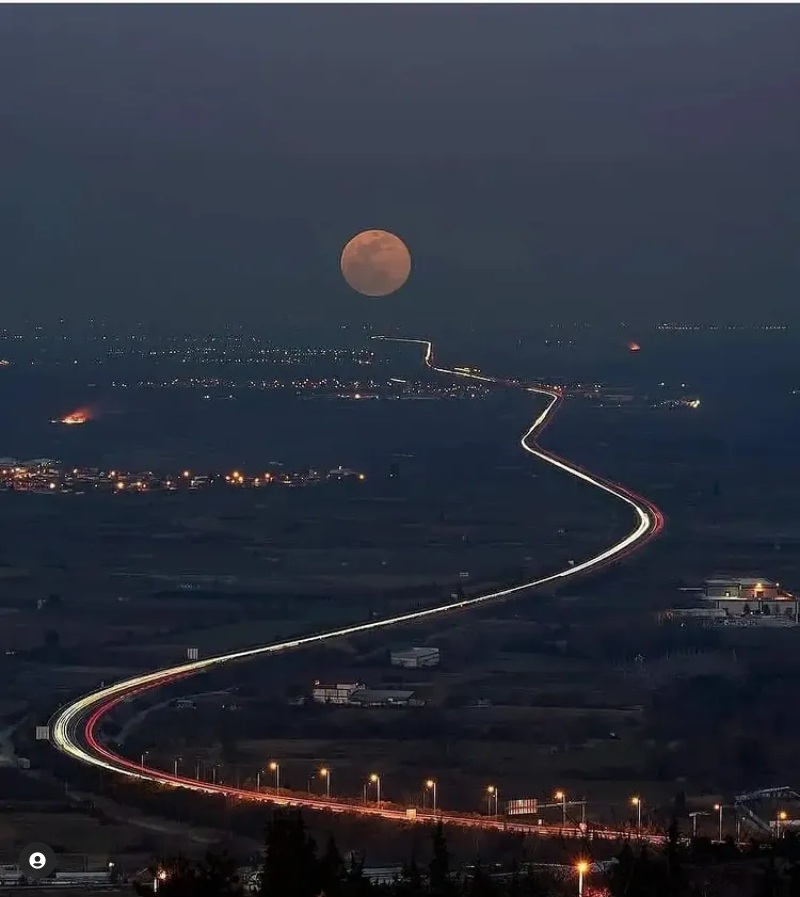
As humans, we have always been fascinated by the celestial wonders that adorn our night sky. Perhaps one of the most captivating objects to photograph is our closest celestial neighbor – the Moon. Its ever-changing phases and mysterious allure have inspired photographers for centuries.
If you’re eager to embark on a lunar photographic adventure, this blog post will guide you from an amateur to a professional, helping you capture awe-inspiring shots of the Moon.
- Acquire the Right Equipment:
To begin your journey in moon photography, you need the right gear. While it’s definitely possible to shoot the moon with a smartphone, investing in a DSLR or mirrorless camera with manual settings will provide you with better control over the process. Pair your camera with a quality telephoto lens to capture the minute details of the Moon’s surface.

- Timing is Key:
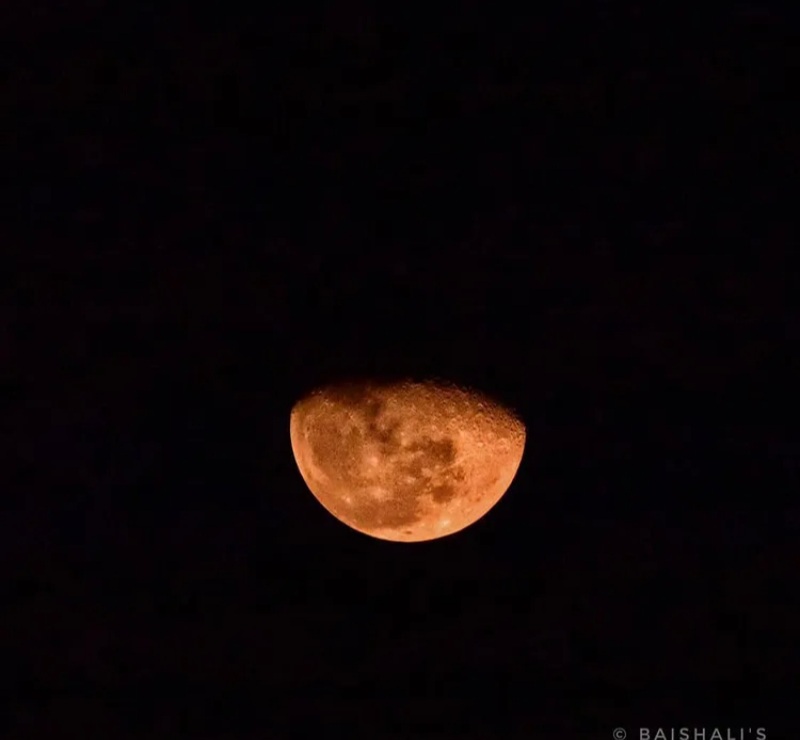
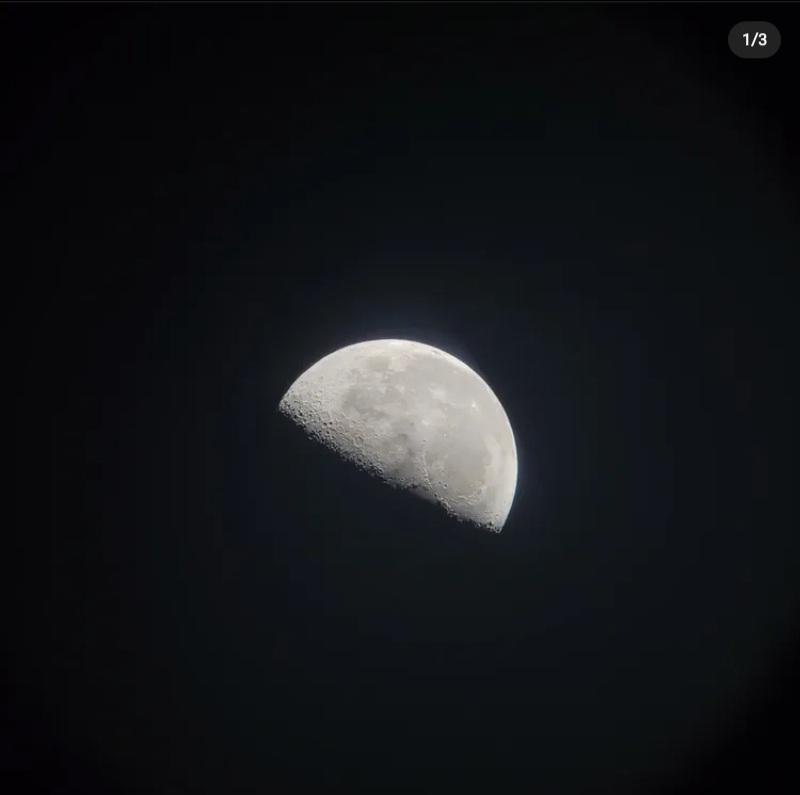
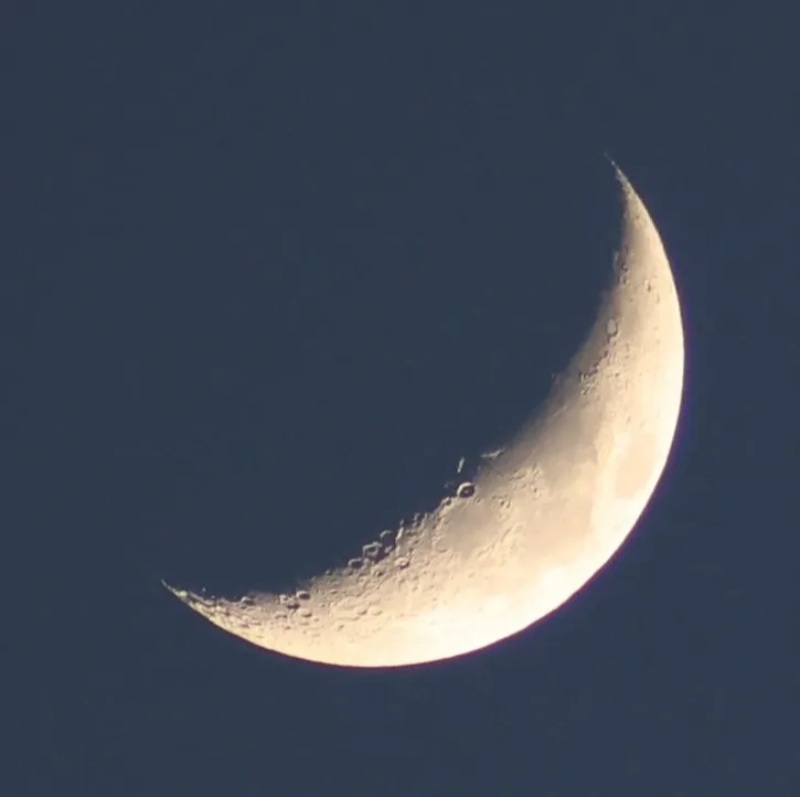
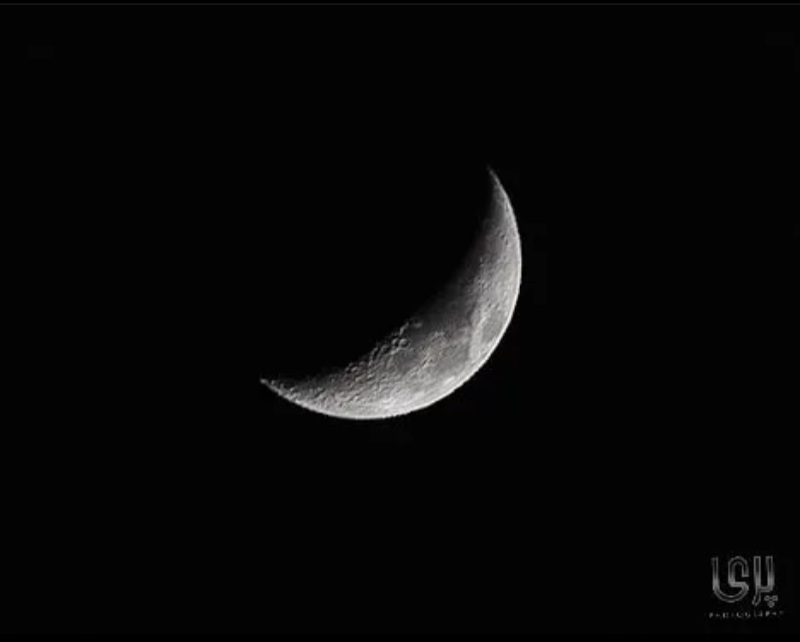
Planning your moon photography sessions around the lunar cycle is crucial. The ideal time to photograph the Moon is during the waxing or waning crescent phase. During these phases, the sunlight hits the Moon at an angle, illuminating its surface and highlighting its topography. Be sure to consult a lunar calendar to determine the moonrise and moonset times, as well as the phase you wish to capture.
- Compose Your Shot:
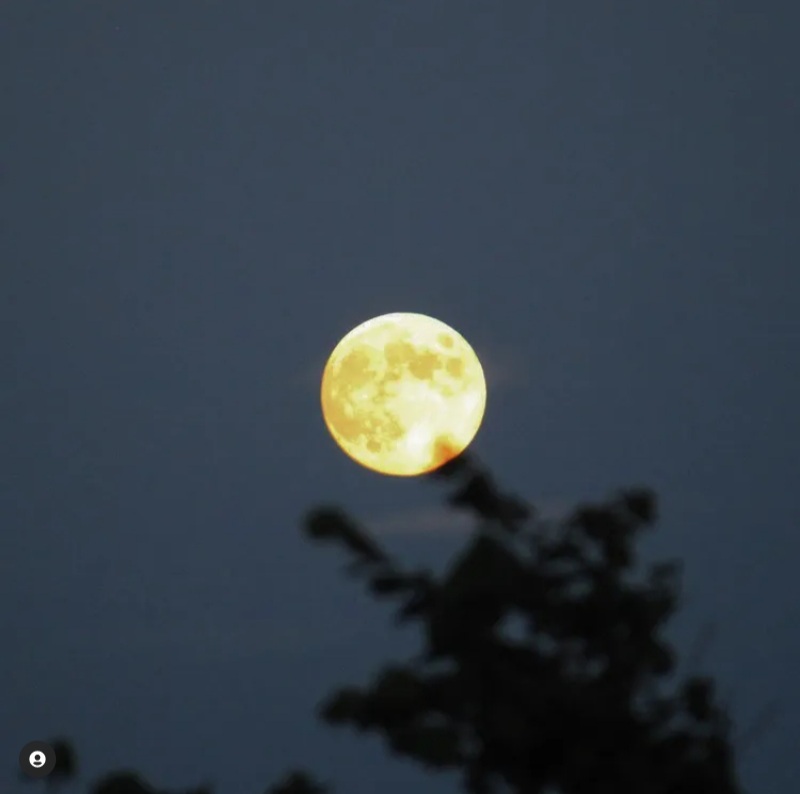
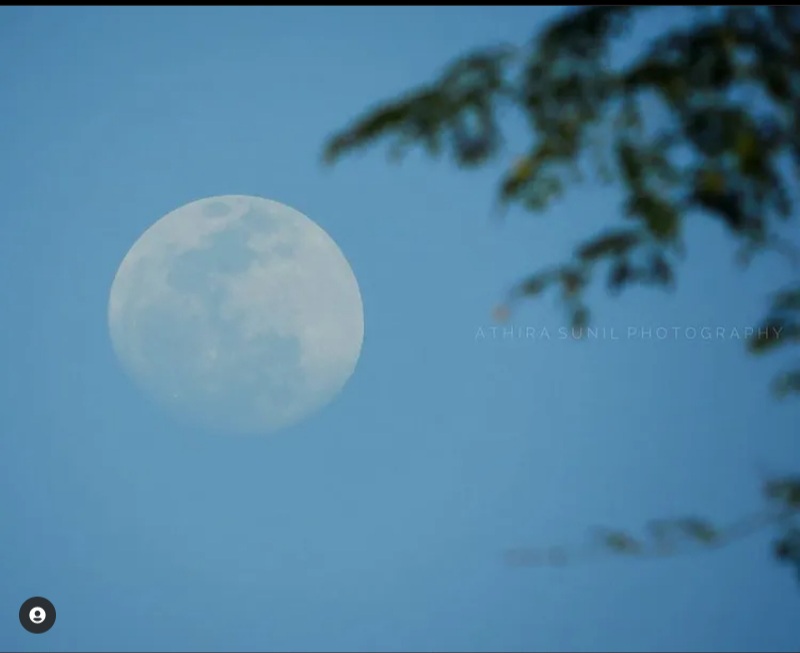
While the Moon itself may be the star of the show, incorporating foreground elements can enhance the visual appeal of your photographs. Experiment with different compositions using buildings, trees, or even people to create a more captivating image.
- Manual Settings for the Moon:
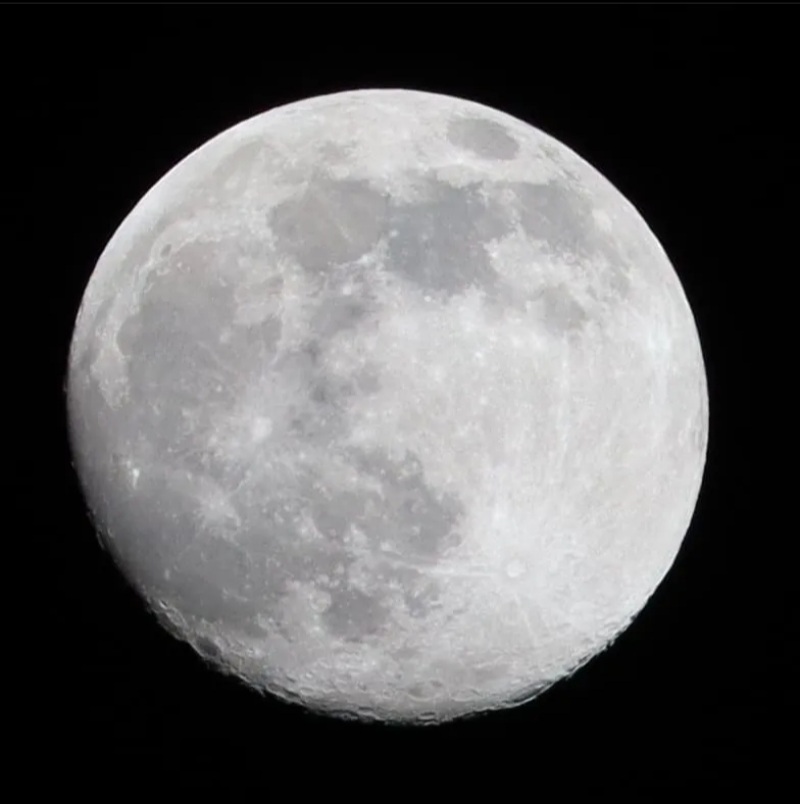
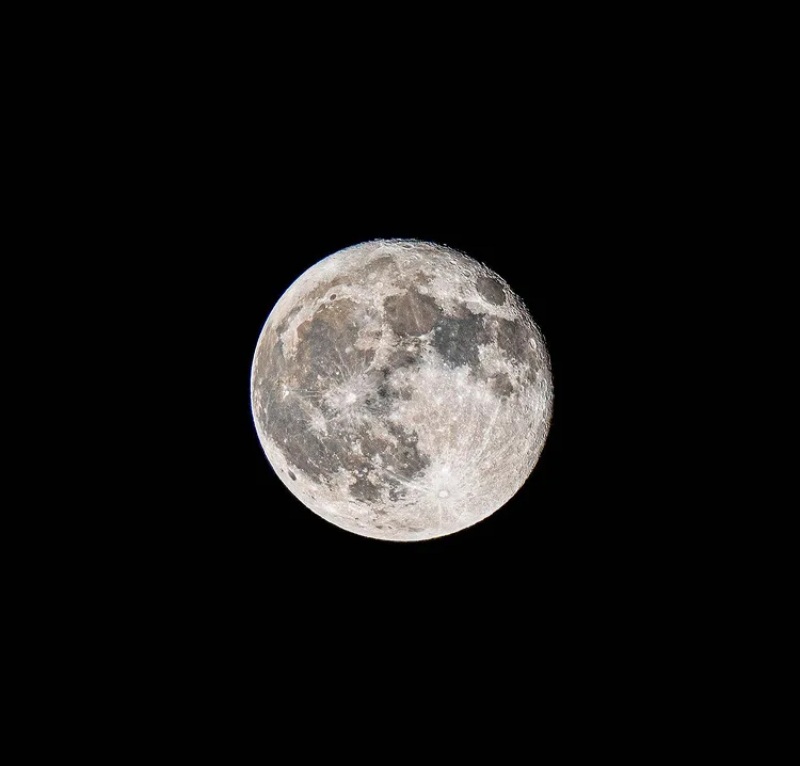
As the Moon is much brighter than you might expect, using manual settings is crucial to capture its intricate details. Start with a low ISO setting (around 100-200) to ensure minimal noise. Set your aperture to a medium value (around f/8 to f/11) to ensure you have adequate depth of field. Lastly, experiment with faster shutter speeds (around 1/200th to 1/500th of a second) to freeze the Moon’s motion and prevent blurring.

- Experiment with Exposure Bracketing:
Exposure bracketing is a technique where you capture multiple images of the same subject with different exposure settings. This technique can be incredibly useful when shooting the Moon. By taking multiple shots, ranging from underexposed to overexposed, you can merge them later using post-processing software to create a well-balanced final image. This technique ensures you capture both the details on the Moon’s surface as well as the surrounding sky.
- Post-Processing Magic:
Post-processing plays a vital role in enhancing your moon photographs. Use software such as Adobe Lightroom or Photoshop to fine-tune your images, adjusting contrast, sharpness, and noise levels. This step will make your images pop and showcase the intricate details of the lunar surface.
Moon photography is a challenging yet rewarding genre that invites you to explore the depths of both creativity and technical skill. By following these tips, investing in the right equipment, and refining your technique, you can capture stunning images of the Moon, leaving your viewers awe-inspired by the celestial beauty above.
So, grab your camera, plan your lunar sessions, and let your creativity soar as you embark on an enchanting journey into the captivating world of moon photography.


Related Posts